Unveiling the Hammer Pattern: A Comprehensive Guide for Traders
In the dynamic world of financial markets, traders are constantly seeking reliable indicators to predict future price movements. Among the plethora of candlestick patterns available, the hammer pattern stands out as a significant bullish reversal signal. This article provides a comprehensive overview of the hammer pattern, exploring its characteristics, interpretation, and limitations, offering traders a valuable tool for informed decision-making. Understanding the hammer pattern can be crucial for identifying potential buying opportunities and managing risk effectively.
What is the Hammer Pattern?
The hammer pattern is a single candlestick pattern that appears primarily in a downtrend, signaling a potential reversal to the upside. It’s characterized by a small body, a long lower shadow (or wick), and little to no upper shadow. The length of the lower shadow should be at least twice the length of the body. The color of the body (whether bullish or bearish) is not as important as the shape, but a bullish (white or green) body adds to the bullish signal.
Key Characteristics of a Hammer Candlestick
- Small Body: Represents the trading range between the opening and closing prices.
- Long Lower Shadow: Indicates that sellers initially drove the price down significantly, but buyers stepped in to push the price back up near the opening price.
- Little or No Upper Shadow: Suggests that the price did not move much above the opening price.
- Appears in a Downtrend: The hammer pattern is only valid as a reversal signal if it forms after a period of declining prices.
How to Identify a Valid Hammer Pattern
Identifying a valid hammer pattern requires careful observation and consideration of several factors. The most crucial aspect is its appearance within a defined downtrend. Without a preceding downtrend, the candlestick formation is simply a candlestick with a long lower shadow, lacking the predictive power of a true hammer pattern. Furthermore, the length of the lower shadow relative to the body is critical; it should be at least twice the size. The smaller the body and the longer the lower shadow, the stronger the potential reversal signal.
Confirmation is Key
While the hammer pattern provides a potential signal, it’s crucial to seek confirmation before making trading decisions. Confirmation typically comes in the form of a bullish candlestick on the following day, with the price closing above the closing price of the hammer pattern. Volume is another important factor to consider; increased volume on the day of the hammer pattern or the confirmation day can add further validity to the signal.
The Psychology Behind the Hammer Pattern
Understanding the psychology behind the hammer pattern provides valuable insight into its significance. During a downtrend, the market sentiment is generally bearish, with sellers in control. The formation of the hammer pattern suggests a shift in this dynamic. The long lower shadow indicates that sellers initially pushed the price down aggressively, but buyers stepped in with significant force, driving the price back up. This rejection of lower prices signals a potential exhaustion of the selling pressure and the possible emergence of buying interest.
Market Sentiment Shift
The hammer pattern reflects a battle between buyers and sellers, with the buyers ultimately gaining the upper hand. This shift in market sentiment can lead to a change in the overall trend, as more buyers enter the market, anticipating further price increases. However, it’s important to remember that the hammer pattern is just one piece of the puzzle, and other factors, such as overall market conditions and fundamental analysis, should also be considered.
Trading Strategies Using the Hammer Pattern
The hammer pattern can be incorporated into various trading strategies. One common approach is to enter a long position after confirmation of the hammer pattern, placing a stop-loss order below the low of the hammer pattern to manage risk. Another strategy involves using the hammer pattern in conjunction with other technical indicators, such as moving averages or Fibonacci retracement levels, to identify high-probability trading opportunities. [See also: Candlestick Pattern Trading Strategies]
Risk Management is Essential
As with any trading strategy, risk management is paramount when trading the hammer pattern. It’s crucial to set appropriate stop-loss orders to limit potential losses and to avoid over-leveraging positions. Furthermore, traders should be aware of the limitations of the hammer pattern and avoid relying solely on this single indicator for trading decisions. A comprehensive approach that incorporates multiple indicators and fundamental analysis is always recommended.
Limitations of the Hammer Pattern
While the hammer pattern can be a valuable tool, it’s essential to acknowledge its limitations. The hammer pattern is not always a reliable predictor of future price movements, and false signals can occur. The effectiveness of the hammer pattern can also vary depending on the market conditions and the specific asset being traded. In volatile markets, the hammer pattern may be less reliable due to increased price fluctuations. [See also: Identifying False Candlestick Signals]
Context is Crucial
The context in which the hammer pattern appears is crucial for accurate interpretation. A hammer pattern that forms near a strong support level or a key Fibonacci retracement level is more likely to be a valid signal than one that forms in isolation. Additionally, the overall trend of the market should be considered. If the market is in a strong uptrend, a hammer pattern may simply be a temporary pause before the uptrend resumes.
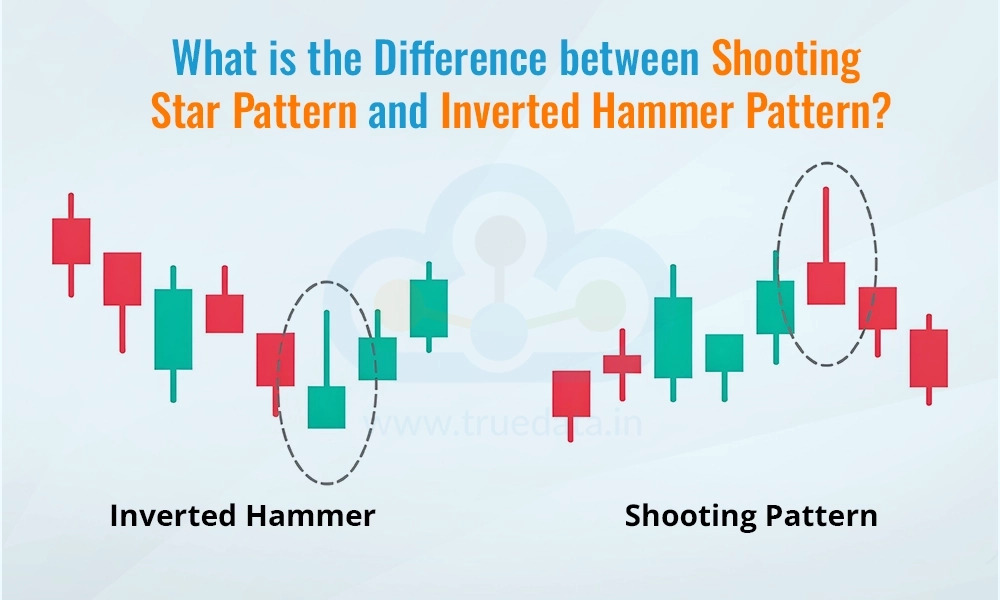
Hammer vs. Hanging Man: Understanding the Difference
It’s important to distinguish the hammer pattern from the hanging man pattern, as they have similar appearances but different implications. Both patterns consist of a small body and a long lower shadow, but the key difference lies in their location within a trend. The hammer pattern appears in a downtrend and signals a potential bullish reversal, while the hanging man pattern appears in an uptrend and signals a potential bearish reversal. [See also: Hanging Man Candlestick Pattern Explained]
Location Matters
The location of the candlestick is the defining factor in distinguishing between the hammer pattern and the hanging man. A candlestick with a small body and a long lower shadow that forms after a sustained uptrend is considered a hanging man, suggesting that selling pressure is emerging and a reversal to the downside may be imminent. Conversely, the same candlestick formation in a downtrend is a hammer pattern, indicating potential buying support and a possible reversal to the upside.
Real-World Examples of the Hammer Pattern
Analyzing real-world examples of the hammer pattern can provide valuable insights into its application. Consider a stock that has been in a downtrend for several weeks. A hammer pattern forms near a support level, with a small bullish body and a long lower shadow. The following day, the price gaps up and closes higher, confirming the bullish reversal signal. This example illustrates how the hammer pattern can effectively identify potential buying opportunities.
Analyzing Past Performance
By studying historical charts and identifying instances where the hammer pattern has accurately predicted price reversals, traders can gain confidence in its effectiveness. However, it’s important to remember that past performance is not necessarily indicative of future results, and the hammer pattern should always be used in conjunction with other technical indicators and risk management techniques.
Conclusion: Mastering the Hammer Pattern
The hammer pattern is a valuable tool for traders seeking to identify potential bullish reversals in the market. By understanding its characteristics, interpretation, and limitations, traders can effectively incorporate the hammer pattern into their trading strategies. However, it’s crucial to remember that the hammer pattern is just one piece of the puzzle, and a comprehensive approach that incorporates multiple indicators, fundamental analysis, and sound risk management is essential for success. Mastering the hammer pattern and its nuances can significantly enhance a trader’s ability to navigate the complexities of the financial markets and make informed trading decisions. Always remember to confirm the hammer pattern with other indicators or price action before entering a trade. The hammer pattern is a good start to identify potential reversals, but it shouldn’t be the only reason to trade. With practice and diligent study, the hammer pattern can become a powerful addition to any trader’s arsenal. The key is to understand how the hammer pattern reflects market sentiment and to use it in conjunction with other tools to improve trading accuracy. Ultimately, the successful application of the hammer pattern relies on a combination of knowledge, experience, and disciplined risk management.
